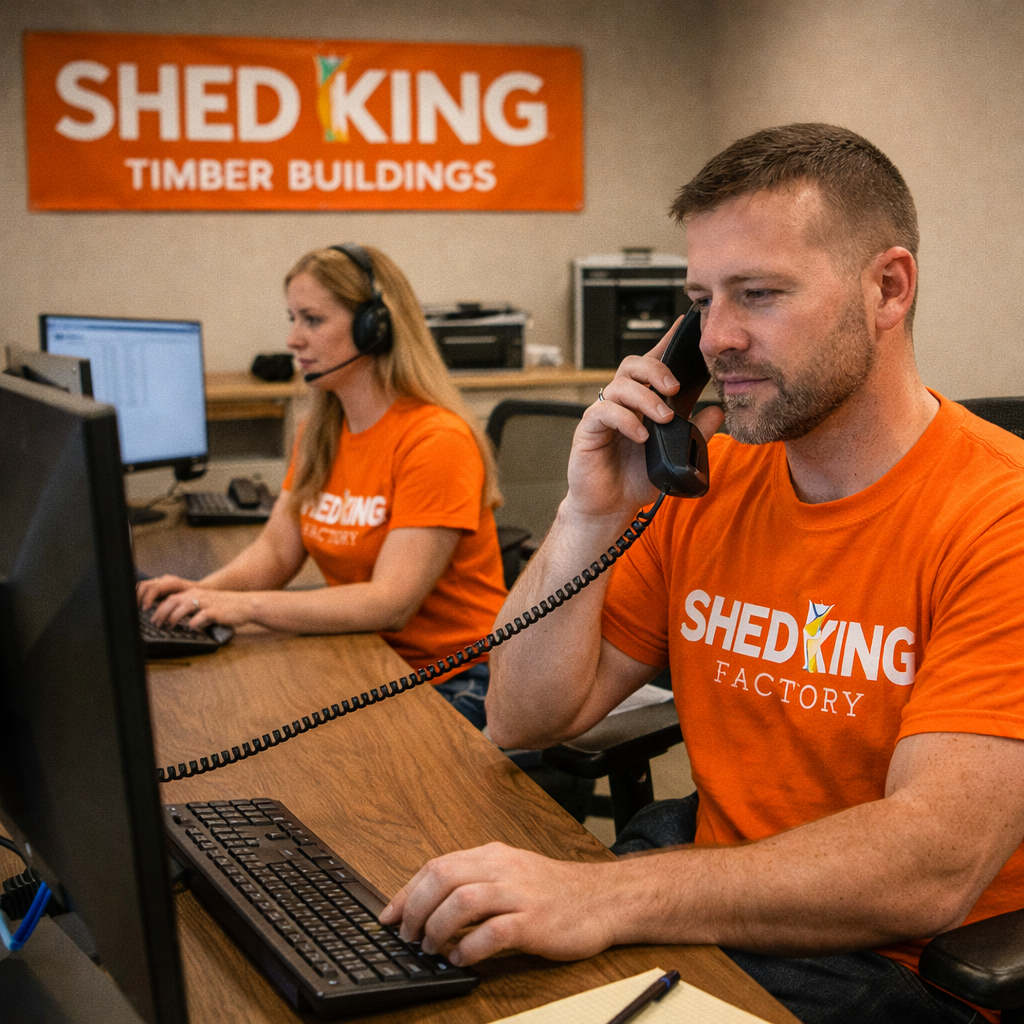
- Order Placement
- Design
- Timber Cutting
- Manufacturing
- Getting Ready for Delivery
- Route Planning
- Installation
1) Building Design
From customer sketch to 3D reality.
The very first stage of the process begins with design — not manufacturing, not delivery planning.
Customers often start with:
- A rough sketch
- A basic idea
- A required size
- Or simply a purpose: office, gym, studio, storage
Our building designer takes that information and turns it into a clear, workable design. This stage bridges the gap between what the customer imagines and what can actually be built.
Turning ideas into buildable designs
Using accurate dimensions, layouts, and proportions, the design is refined into:
- A practical building footprint
- Door and window positioning
- Roof layout
- Internal and external balance
Access, spacing, and real-world constraints are considered from the outset — because a great design that can’t be installed isn’t a great design.
3D visualisation & final sign-off
Once the layout is agreed, the building is produced as a 3D visualisation. This allows the customer to see exactly what they’re getting, understand proportions and appearance, confirm doors, windows, and finishes, and sign off the design with confidence.

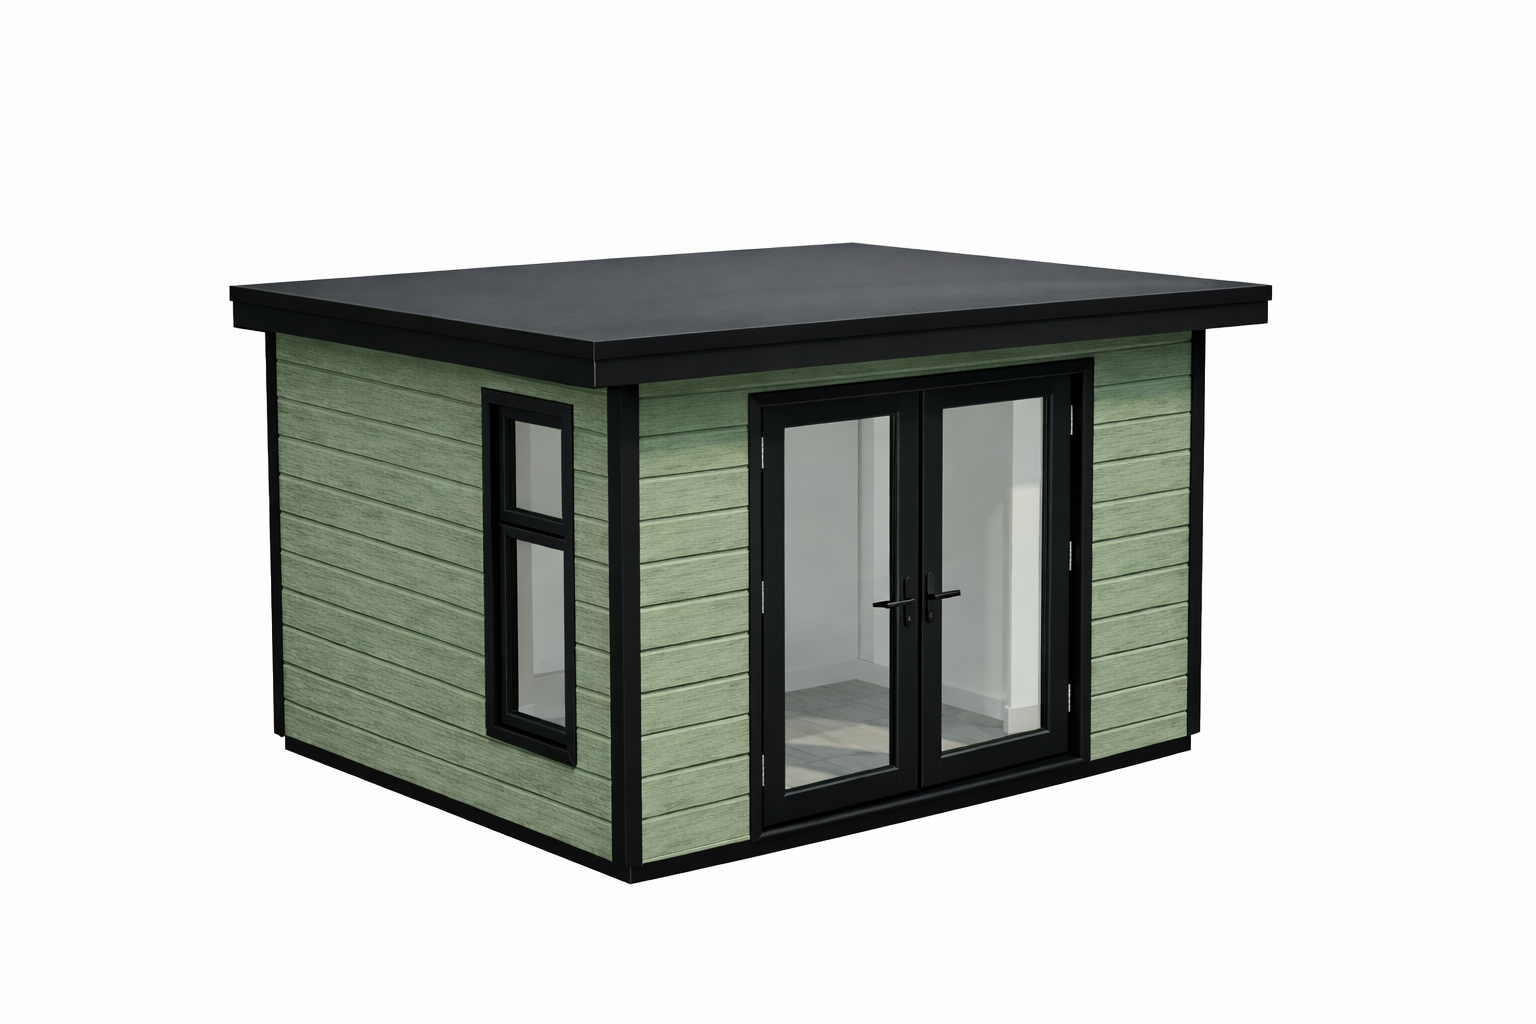
Only once the design is approved does the project move forward.
Nothing is guessed. Nothing is assumed. Nothing is built until the design is right.
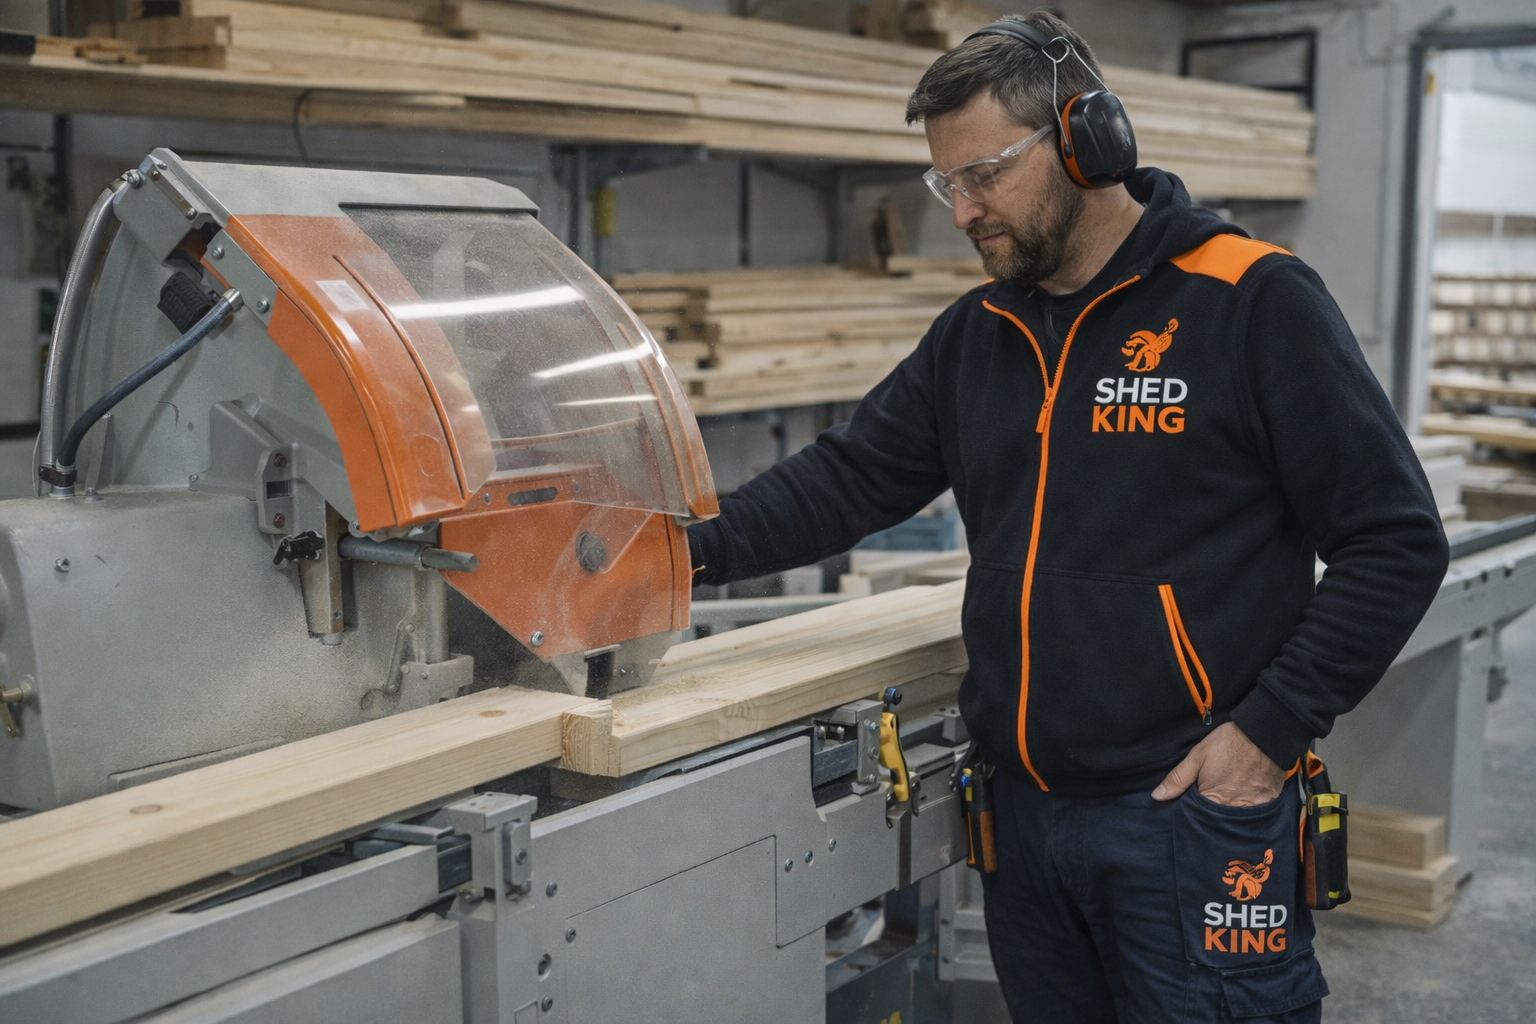
2) Timber Cutting
Precision first — everything fits properly later.
Once the design is signed off, the build begins with measured, accurate cutting. This stage sets the standard for everything that follows: cleaner assembly, tighter alignment, and a stronger final structure.
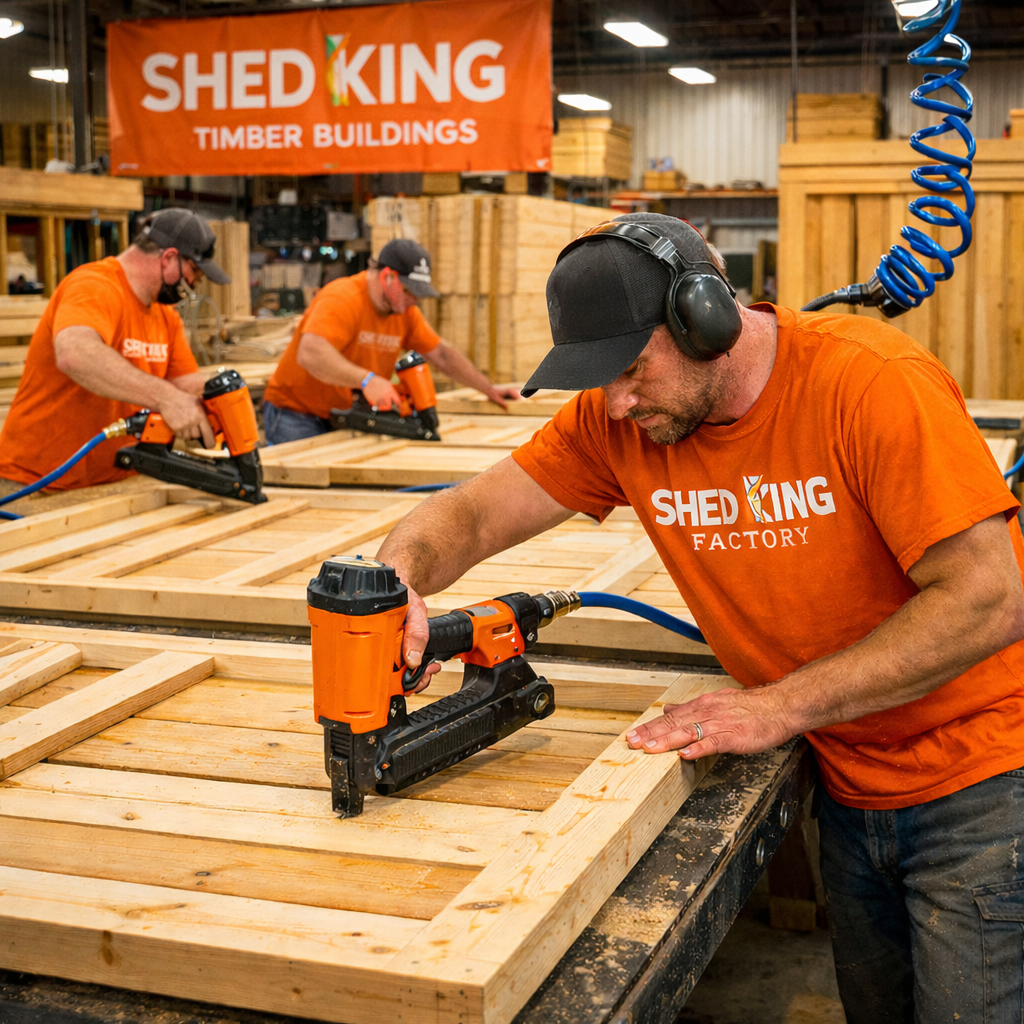
3) Manufacturing
Once the design is signed off, the build takes shape.
With cutting completed, the manufacturing stage brings the build together through each section — solid, square, and built to perform in real UK weather.
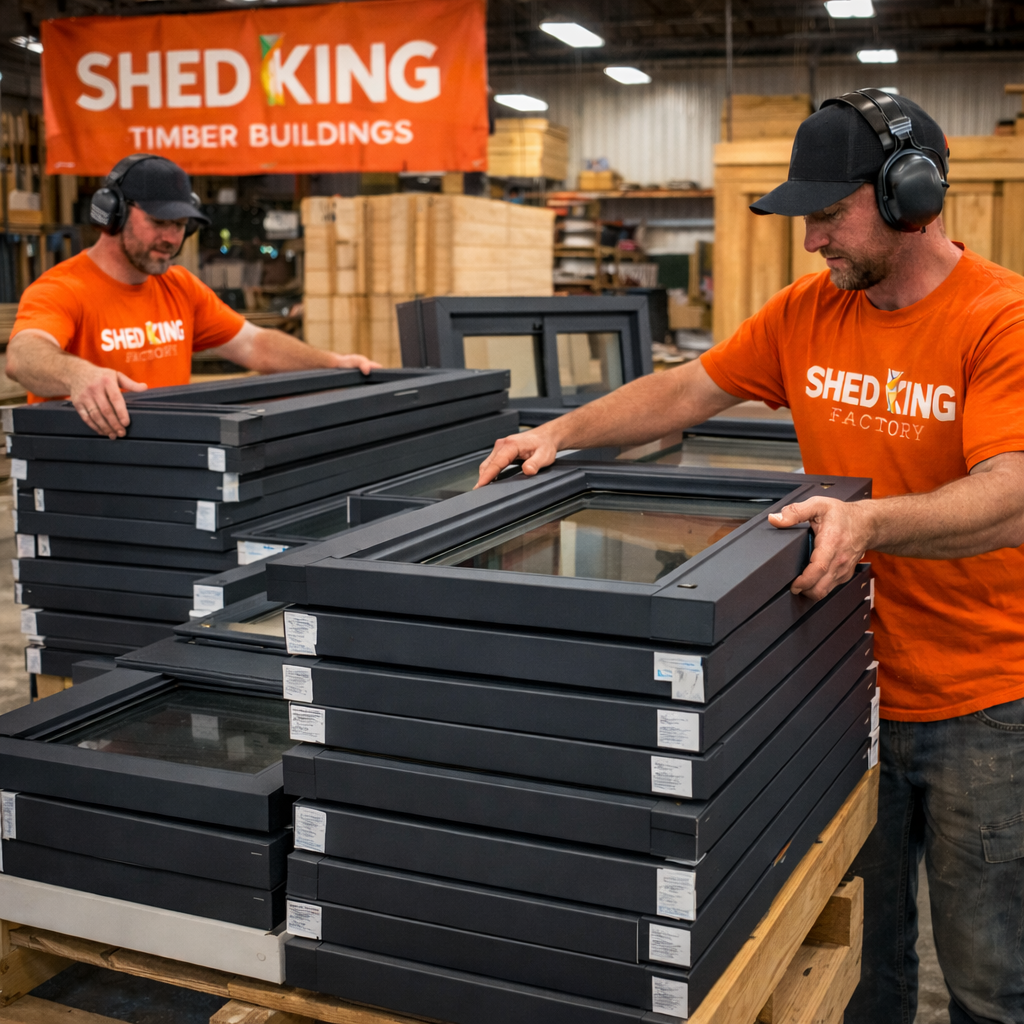
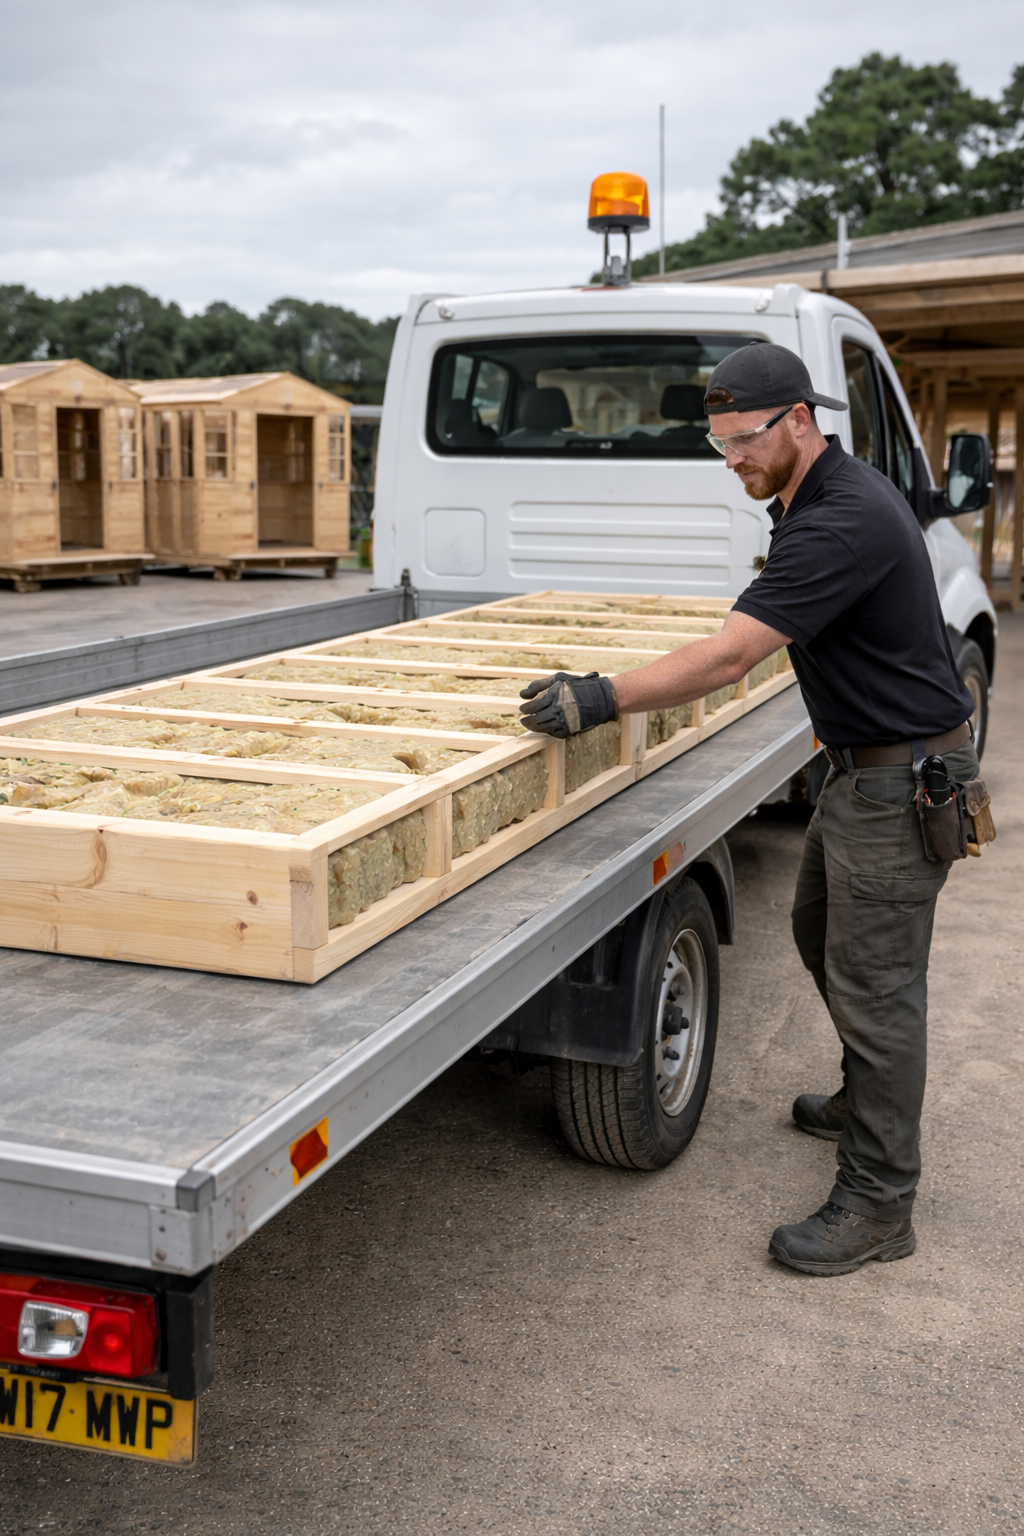
4) Getting Ready for Delivery
Organised, checked, and prepared — no missing bits.
Before anything leaves us, everything is collated, checked, and prepared for your site. This stage is about a smooth handover from workshop to installation — organised, protected, and ready.

5) Route Planning
The final stage before delivery and installation.
Delivery planning does not happen at the start — it happens once the building is manufactured, finished and signed off, and components are collated.
At this point, routes, schedules, and installation slots are finalised to ensure the building arrives on the right day, with the right team, ready to go straight up.
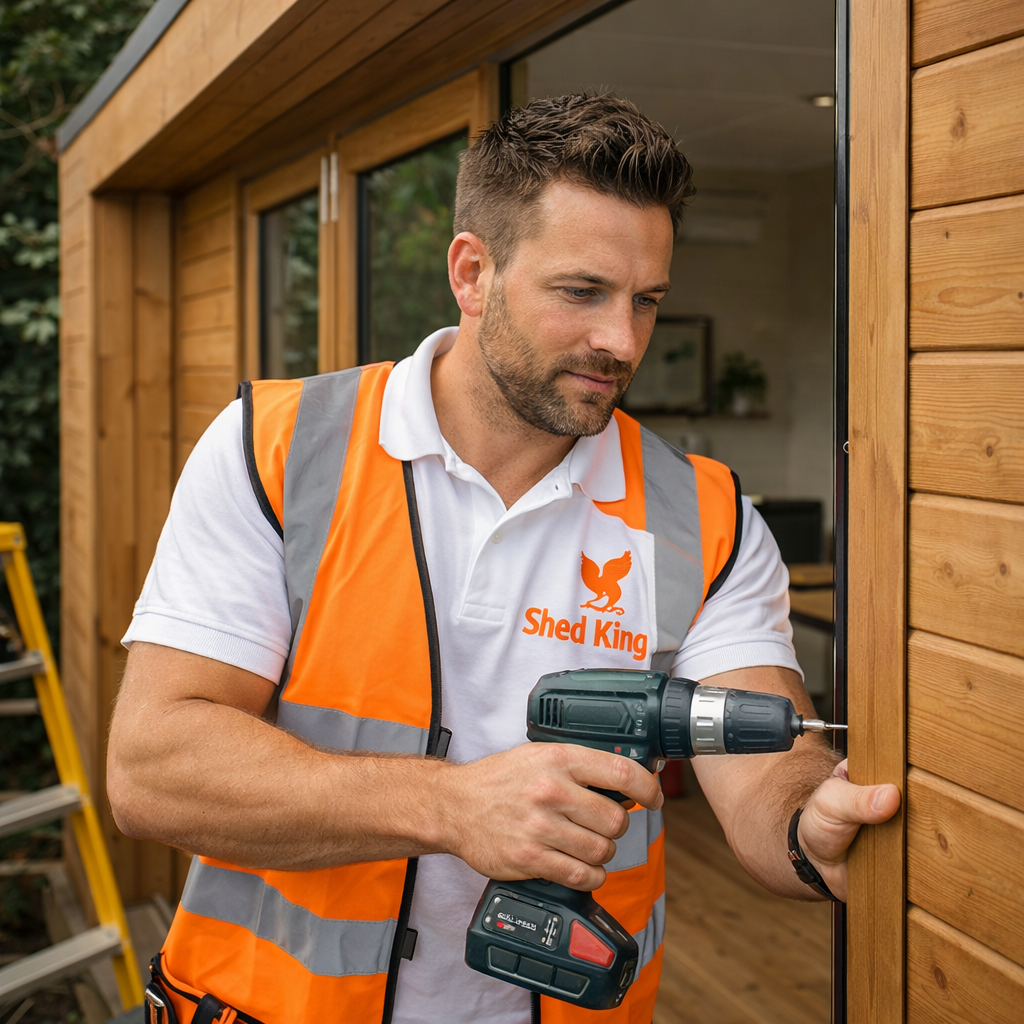
6) Installation
Arrive prepared. Build efficiently. Make watertight early.
On installation day, the Shed King team arrives on site with everything required to complete the build.
Base preparation
Before construction begins, the base is checked and prepared depending on the customer’s specification:
- EasyPad base – pads are prepared and set out on site before the floor is installed
- Concrete base – previously installed and cured, checked and confirmed ready
- Customer-provided base – levels are checked and adjusted as required so the building starts square and true
This ensures the structure is built on a solid, level foundation.
Structural build sequence
The installation follows a clear, proven order:
- The floor is installed first and levelled accurately
- Wall panels are installed around the floor edges
- Once sides are secure, the roof structure is fitted
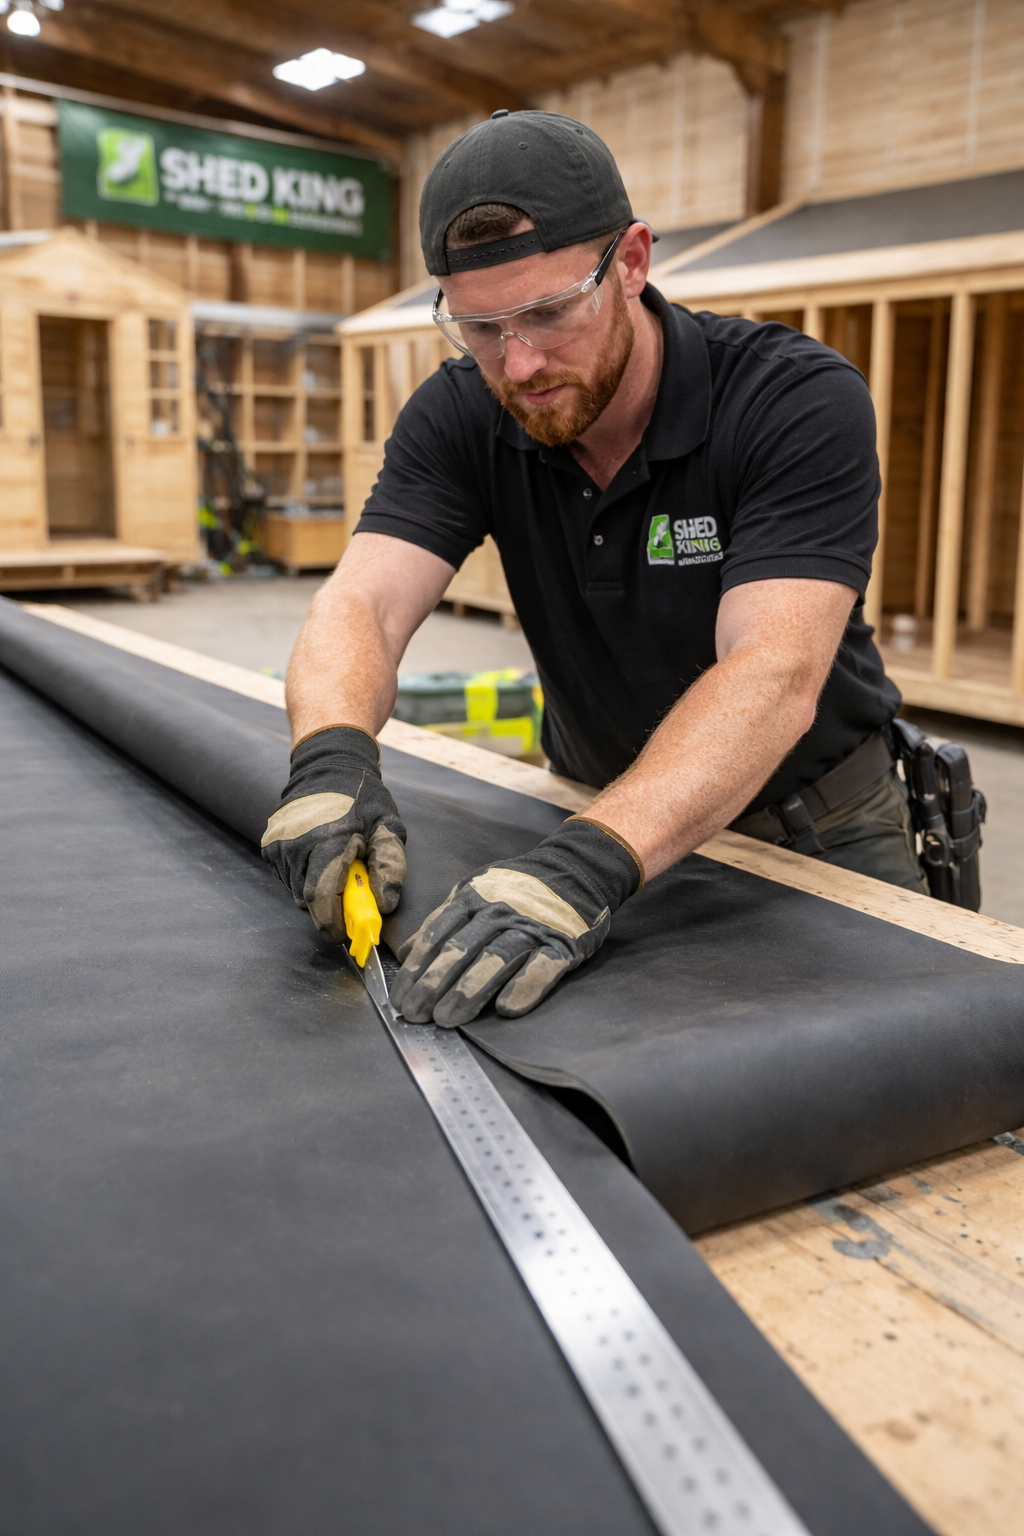
Watertight as early as possible
The EPDM roof covering is installed immediately after the roof structure.
This is a critical step. Making the building watertight early protects the structure and allows the rest of the installation to proceed efficiently, regardless of weather.
Once sealed, all roof cappings, fascias, and external trims are installed to complete the roof system.
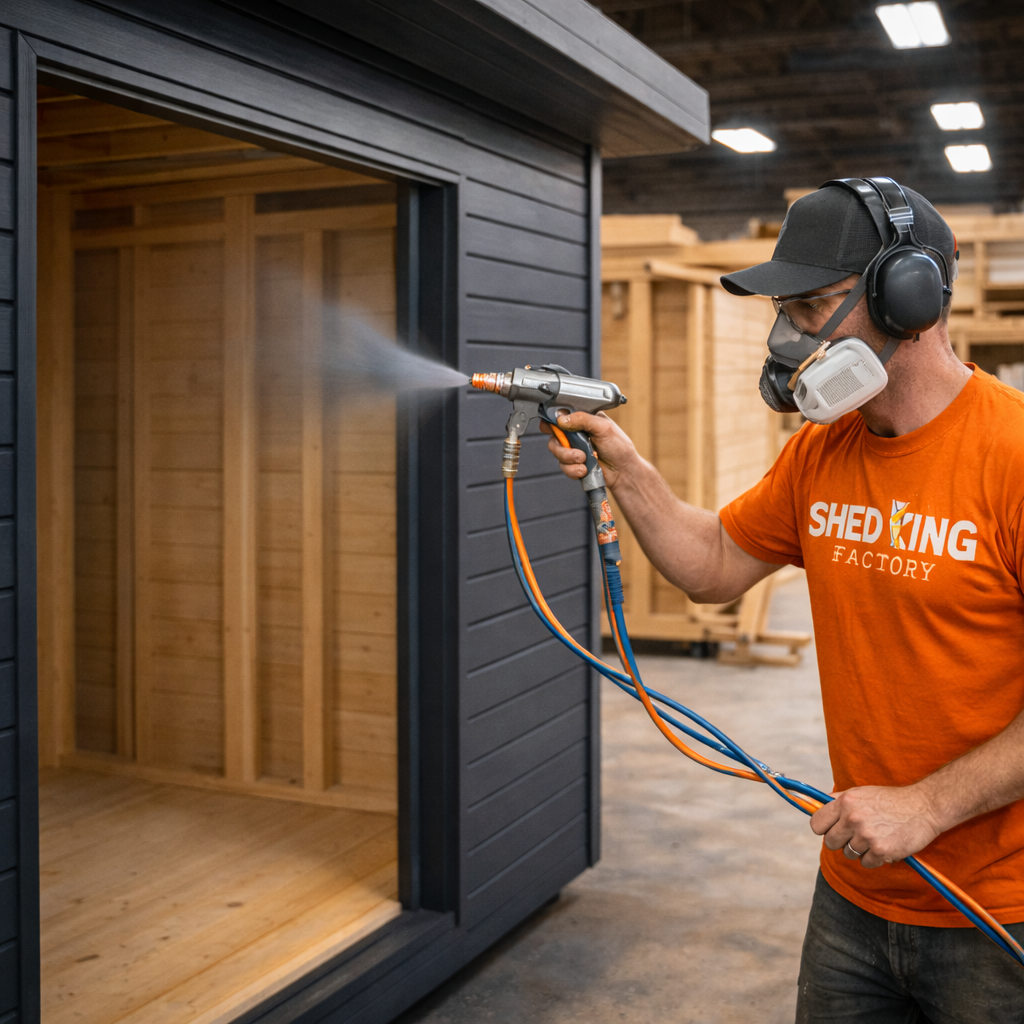
Doors, windows & external finishes
With the structure complete and watertight, the team installs:
- Doors and windows
- uPVC trims and finishing components
- Guttering and external details (where specified)
All components are aligned, secured, and checked for smooth operation and finish.
Final checks & snagging handover
Once installation is complete, the team carries out a final inspection.
Any manufacturing defects or installation imperfections are recorded and passed to the snagging team using the relevant forms, ensuring any follow-up work is handled properly and efficiently.
At this point, the building is fully installed, weatherproof, and complete.